Developing a Custom Knife Blade Shape: From Concept Sketch to Production Drawing
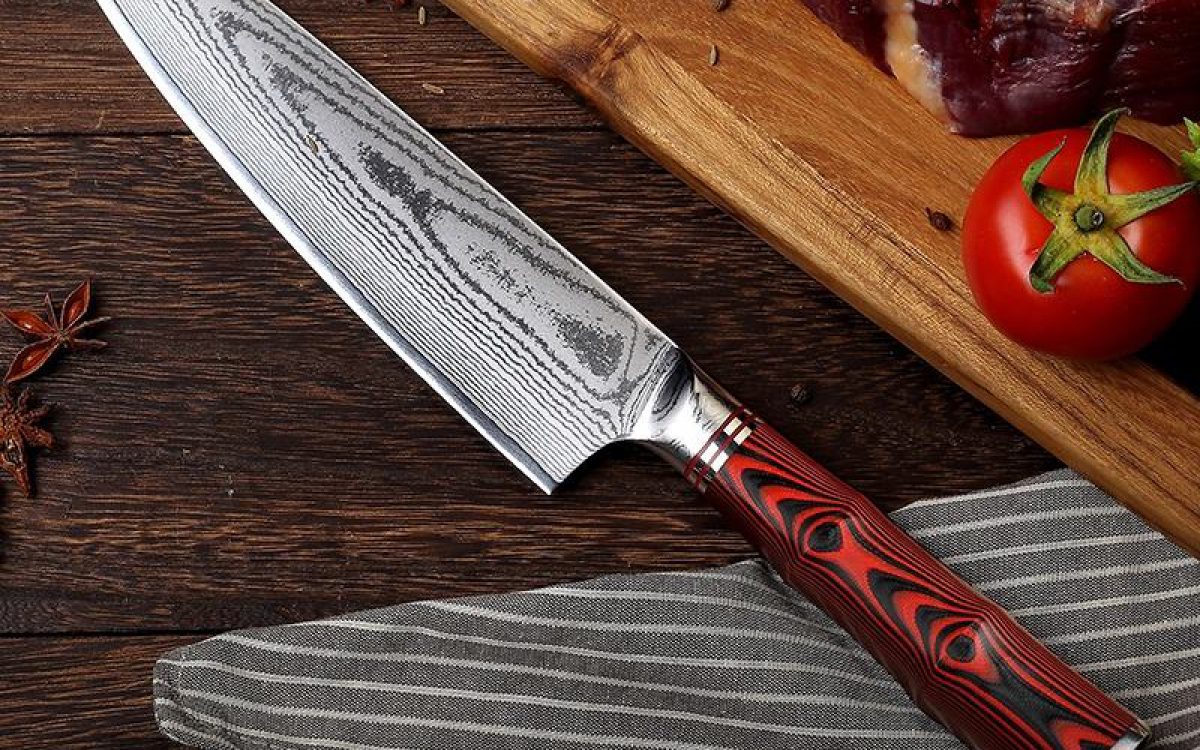
A blade shape is a set of curves constrained by manufacturing. A designer who treats it as a pure drawing exercise produces something beautiful that cannot be blanked, cannot be ground consistently, or cannot be assembled without a structural weakness.
This article covers how a blade shape goes from concept sketch to a production drawing a factory can quote and make — and the parameters that must be on that drawing.
From sketch to production drawing
| Stage | Output | Scale accuracy needed | Who does it |
|---|---|---|---|
| Concept sketch | Intent: what the knife is for, how it feels | None | Brand / designer |
| Dimensioned outline | Length, height, tip position, edge profile with key radii | General proportions correct | Designer with factory input |
| Manufacturing drawing | Outline plus thickness map, grind geometry, tang pattern, tolerances | Full, in millimetres | Factory engineering |
| Blanking die drawing | Outline compensated for die clearance and forming allowance | Full, with tolerances | Factory tooling |
| First article | Physical piece measured against the drawing | Verification | Factory QC |
Most disputes on blade shape come from skipping the manufacturing drawing and quoting from the outline. A 2D outline with no thickness profile can be made into anything from a laser-thin slicer to a heavy cleaver.
The parameters that must be on a blade drawing
| Parameter | Units | Why it matters |
|---|---|---|
| Overall length, tip to handle end | mm | Governs the buyer's size expectation and the packaging |
| Blade length, heel to tip | mm | The number printed on retail packs |
| Maximum blade height at heel | mm | Knuckle clearance, board work, and blanking stock width |
| Spine thickness at heel | mm | Stiffness, weight, and the starting thickness of the grind |
| Spine thickness at tip region | mm | Tip strength, and whether distal taper exists |
| Edge angle at heel and at mid-blade | degrees per side | Cutting feel and edge retention |
| Grind type and height | — | Full flat, sabre, hollow, convex, scandi — see grinds |
| Tip position and radius | mm | Tip strength and function |
| Heel depth and curvature | mm | Rocking versus chopping behaviour |
| Tang type and pattern | — | Full tang, half tang, hidden tang with hole pattern |
| Steel grade and hardness target | HRC | Everything downstream |
| Surface finish | Ra or a written descriptor | Appearance and corrosion |
| Marking placement | mm from edge | See logo marking |
Manufacturing constraints that shape the drawing
Blanking
Stamped blades are cut from flat sheet with a die. Three constraints follow:
- Sheet width. The maximum blade height must fit inside the standard coil or sheet width the factory stocks, with allowance for the die and for nesting. A blade that is 5 mm too tall may force a wider coil and a step change in material cost.
- Minimum internal radii. Sharp inside corners cause stress concentration in the die and accelerated die wear. Tip and heel radii should not be tighter than the die can tolerate.
- Draft and taper. A forging has draft; a stamping does not. If the design has a tapered spine, that taper is created in grinding, not blanking, and the drawing must say so.
Grinding
| Feature | Grinding feasibility | Cost effect |
|---|---|---|
| Straight, parallel bevel | Easiest, jig-held | Baseline |
| Continuous curve, single radius | Feasible with a follower | Low |
| Compound curve or reverse curve | Requires hand work or multi-axis | Significant |
| Distal taper down the spine | Requires an extra grinding pass or a tapered blank | Moderate |
| Concave (hollow) grind to a thin edge | Feasible but risks overheating the edge | Moderate, with scrap risk |
| Hammered or forged texture | Hand or die-based, low consistency | High labour |
The single most expensive thing a brand can ask for is a shape that machines well in a prototype but requires hand finishing in production. Prototype staff can do things the production line cannot do at cost. Ask explicitly: "will this feature be produced on a machine, and at what cycle time?"
Assembly
The tang pattern determines how the handle attaches and how strong the joint is. A full tang with two or three rivets is the most robust and the easiest to make. A hidden tang requires a drilled handle block, a bolster, and either epoxy alone or epoxy plus a mechanical fastener. Reducing a tang to a narrow stick to save material is a common cost trick and a real structural risk — a knife that snaps at the tang is a liability event, not a warranty event.
Designing for the intended use
| Use case | Blade height | Spine thickness | Edge angle | Grind | Notes |
|---|---|---|---|---|---|
| Precision paring | 20–25 mm | 1.5–2.0 mm | 12–15° | Full flat | Short, agile, thin behind the edge |
| All-purpose chef | 45–55 mm | 2.0–2.5 mm | 15° | Full flat or convex | The volume product; keep it conventional |
| Heavy chopping | 55–70 mm | 2.5–3.5 mm | 18–20° | Convex or sabre | Mass behind the edge, robust tip |
| Fillet and slicing | 25–35 mm | 1.5–2.0 mm | 12–15° | Full flat | Long, flexible, narrow |
| Bread | 25–35 mm | 2.0–2.5 mm | Serrated | Flat with scallops | Serration geometry is a separate drawing |
| Vegetable cleaver | 90–110 mm | 2.0–2.5 mm | 15° | Full flat | Wide, thin, weight-forward |
These are starting envelopes, not rules. The useful discipline is to state the use case on the drawing so the factory can push back where the numbers conflict with each other.
Version control
Every drawing revision needs a version number, a date and a change note, and the golden sample must reference the drawing version it was made from. A factory holding drawing v3 while the brand believes v5 is current will produce v3 goods, correctly, against a documented standard — and the brand has no claim.
- V1 — initial concept, no tolerances
- V2 — dimensioned outline
- V3 — manufacturing drawing with thickness map and tolerances
- V4 — post-first-article corrections
- V5 — production release, signed by both parties
Ship the released drawing as a PDF and keep the editable source internal. Attach it to the purchase order by reference and version number.
Related reading
Looking for a kitchen knife manufacturer?
We manufacture chef knives, knife sets, Damascus and steak knives in Yangjiang with OEM and private label service. Get a quote today.
Get Free Quote → Browse Products