Knife Surface Finishes: PVD, DLC, Sandblast, Satin and Mirror Polish
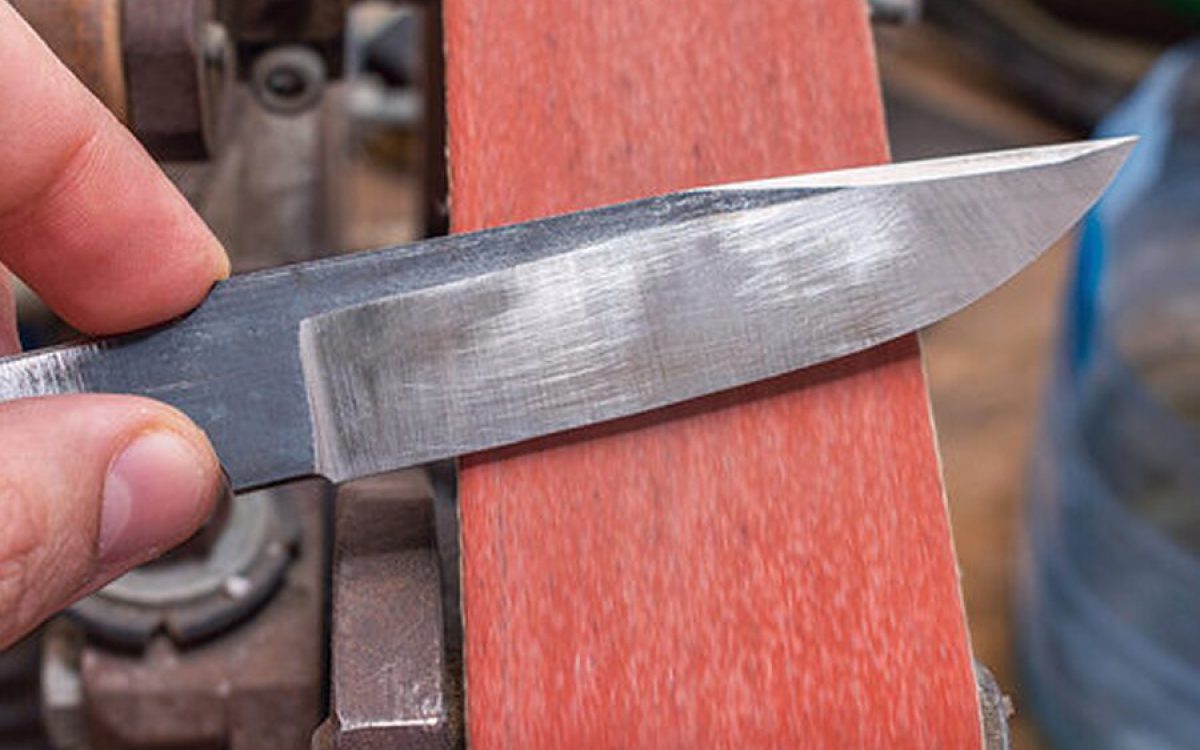
Surface finish is where appearance, corrosion resistance and cost meet. It is also one of the most commonly mis-specified features in a knife brief, because buyers describe finishes in words — "brushed", "matte", "shiny" — and factories interpret those words differently.
This article sets out each finish in production terms: how it is made, what it costs, what it does to corrosion and how to specify it so the sample matches the bulk.
Mechanical finishes: what grits actually produce
| Finish | Typical process | Surface appearance | Roughness (Ra, indicative) | Relative cost | Corrosion behaviour |
|---|---|---|---|---|---|
| Coarse brushed / linear | Coarse abrasive belt, single direction | Visible parallel lines | 0.6–1.2 µm | Lowest | Poorest — lines hold moisture and debris |
| Fine brushed / satin | Finer belt, controlled direction | Uniform soft sheen with fine lines | 0.3–0.6 µm | Low | Good |
| Bead blast (glass bead) | Pneumatic blasting with glass beads | Uniform matte, non-directional | 0.8–1.6 µm | Low to moderate | Fair — increased real surface area |
| Sand blast (coarse) | Coarser media | Rough matte, grey | 1.6–3.0 µm | Low | Poor — rough surfaces trap residue |
| Stone wash / tumbled | Rotary tumbling with abrasive media | Random soft scratches, antique | 0.8–2.0 µm | Low | Fair |
| Mirror polish | Progressive grits to buffing | Reflective, no visible lines | Below 0.1 µm | Highest | Best for hygiene, shows every scratch |
| Hand-rubbed satin | Long-direction hand finishing | Distinct uniform finish, premium | 0.3–0.5 µm | High labour | Good |
Ra is not a number you need to demand on the drawing, but it is the reason "satin" from one factory differs from "satin" at another. If consistency matters, specify a grit sequence and a direction, and approve a physical standard.
Coated finishes
| Coating | How applied | Hardness | Thickness | Appearance | Corrosion protection | Cost | Notes |
|---|---|---|---|---|---|---|---|
| PVD titanium nitride (TiN) | Vacuum deposition | High, typically 2000+ HV | 2–5 µm | Gold | Excellent | Moderate to high | Food contact requires compliant target material |
| PVD titanium carbonitride | Vacuum deposition | Very high | 1–4 µm | Dark grey to black | Excellent | Moderate to high | Common on premium kitchen knives |
| PVD chromium nitride | Vacuum deposition | High | 2–6 µm | Silver-grey | Excellent | Moderate | Good wear resistance |
| DLC (diamond-like carbon) | Vacuum deposition, thin | Very high | 1–3 µm | Deep black, glossy | Excellent, but only if defect-free | High | Adhesion on a sharpened edge is critical |
| Ceramic coating (sol-gel) | Spray and cure | Moderate | 3–15 µm | Colour options | Good | Low to moderate | Less durable on an edge; handle and blade flats |
| Electroplated chrome | Electrodeposition | Moderate | 5–25 µm | Bright | Good | Low | Only for decorative parts; not for food contact edges |
| Anodised aluminium (handles) | Anodic oxidation | Moderate | 5–25 µm | Colour options | Good | Low | Handles and bolsters, not blades |
Three places coatings fail
1. On or near the cutting edge
A coating is thin and hard. On a fine edge it is either ground away in sharpening, or it flakes and leaves a hard, brittle fragment at the apex. Coatings are for the blade face and for handles; an edge is bare steel. If a supplier offers a coated edge, ask what the edge angle is after coating and who is responsible for a chip at the coating boundary.
2. At a sharp transition
PVD and DLC deposition is line-of-sight and works best on smooth, gently curved surfaces. A sharp corner or a step receives a thinner, weakly adhered coating and is where delamination starts. Design transitions with generous radii if the whole part is to be coated.
3. After sharpening
If the knife is sharpened after coating, the coating along the bevel is removed and a bare band appears. If it is sharpened before coating, the coating covers the edge. Neither is free of consequence, which is why the sequence must be specified: coat after grinding, sharpen as the final step, and define how far the coating is allowed to come towards the edge.
Specifying a finish in writing
| To specify | What to write | How to verify |
|---|---|---|
| Mechanical finish | Grit sequence, direction, whether hand or machine | Visual comparison to a retained golden sample under defined lighting |
| Coverage | Which surfaces: whole blade, flats only, spine, handle, bolster | Drawings with marked areas |
| Exclusion zones | Minimum distance from the edge that is uncoated | Measurement on the first article |
| Coating thickness | A range in µm | Coating thickness gauge, or a cross-section on the first article |
| Adhesion | A named adhesion test method and pass criterion | Test report on the first article and per batch if critical |
| Colour | Reference to a physical plaque or sample, not a Pantone screen value | Visual under daylight and under shop lighting |
| Appearance defects | Acceptable and unacceptable defect list with sizes | Defect classification in the inspection standard |
Finish, cost and price point
| Finish | Relative cost index | Price point it supports | Comment |
|---|---|---|---|
| Coarse brushed | 100 | Entry | Reads as basic but honest |
| Fine satin, machine | 115 | Entry to mid | The default for value retail |
| Bead blast | 130 | Mid | Popular, hides scratches, hard to clean |
| Stone wash | 125 | Mid | Distinctive, tolerant of handling marks |
| Mirror polish, machine | 200 | Mid to premium | Very scratch-visible |
| Hand-rubbed satin | 260 | Premium | Strong signal to enthusiasts |
| PVD or DLC on flats | 260–400 | Premium | Adds a compliance and adhesion dimension |
A finish upgrade is often the cheapest way to move a product one price band. Bead blast instead of coarse brush costs a modest increment and looks meaningfully more considered. Conversely, requesting a hand-rubbed satin finish on a €29 retail knife is a cost error.
Interaction with corrosion
Surface roughness is a corrosion variable. A rough surface retains moisture, holds food residue in its valleys, and presents more area to a chloride environment. Two knives of the same steel grade with different finishes will not corrode identically in use or in a salt spray test. See salt spray testing and corrosion mechanisms.
If you run a corrosion test on a finished knife, record the finish in the report. A salt spray result without a stated surface condition is not comparable to anything.
Finishing and the marking sequence
The order of operations matters and is frequently left undefined:
- Grind and form the blade.
- Heat treat and straighten.
- Apply surface finish.
- Apply marking, in the correct depth for the finish.
- Sharpen.
- Clean, inspect, assemble, pack.
If marking happens before finishing, a fine brushed finish may partially erase it. If sharpening happens before marking, the marking fixture may scuff the edge. Writing the sequence into the manufacturing instruction removes an entire class of argument. See logo marking.
Checklist
- Name the finish process, not just the appearance.
- State the grit sequence and the direction.
- Mark coverage areas and edge exclusion zones on the drawing.
- For coatings, state thickness range, adhesion test and colour reference.
- Approve a retained golden sample and record the finish in every test report.
- Write the operation sequence into the manufacturing instruction.
Related reading
Looking for a kitchen knife manufacturer?
We manufacture chef knives, knife sets, Damascus and steak knives in Yangjiang with OEM and private label service. Get a quote today.
Get Free Quote → Browse Products