Knife Assembly and Riveting: From Loose Components to Finished Tool
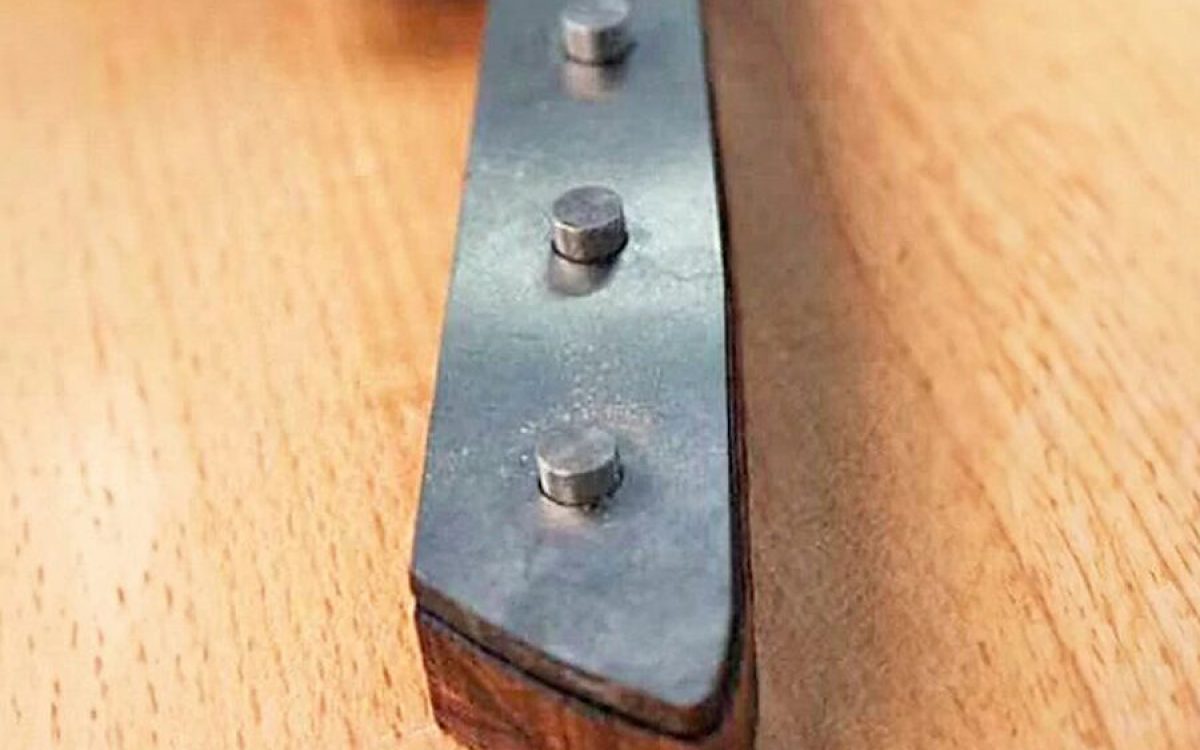
Assembly is the stage where a collection of parts becomes a product, and where most cosmetic defects are created. It is also the stage where a factory's organisational quality shows, because assembly exposes every upstream tolerance error at once.
This article covers handle attachment assembly in detail: riveting, bonding, fixturing and the defects to specify against.
Assembly sequences
| Construction | Sequence | Critical step | Common defect |
|---|---|---|---|
| Full tang with riveted scales | Fit scales, drill or align holes, apply adhesive, insert rivets, set rivets, grind flush, finish | Rivet setting and flush grinding | Proud or sunken rivets; gaps between scale and tang; adhesive squeeze-out not cleaned |
| Screwed scales | Fit scales, align, torque screws, check | Torque control and thread engagement | Overtightening cracking the scale; loose screws |
| Wa handle with a ferrule | Burn in the tang, fit ferrule, seat the blade, wedge and glue | The tang-to-handle fit | Ferrule gap; handle rotation; entry cracks |
| Moulded handle over an insert tang | Place tang in the mould, inject, cool, eject, deflash | Tang centring | Offset tang; sink marks; flash at the parting line |
| Bolster plus riveted handle | Fit and secure bolster, then scales and rivets | Bolster-to-blade transition | Visible gap; weld or braze line; step at the transition |
Riveting
| Rivet type | Head | Setting method | Appearance | Notes |
|---|---|---|---|---|
| Solid brass or stainless rivet | Domed or flush | Hammer or press | Traditional, warm | The classic cutlery rivet |
| Corby or cutlery bolt | Flush, with a decorative head | Screwed and ground | Precise, repairable | Requires accurate countersinking |
| Mosaic pin | Decorative pattern | Bonded, ground flush | Enthusiast signal | Not a structural fastener; needs adhesive |
| Tubular rivet | Rolled over | Press with a roll set | Fast, low cost | Lower holding force than a solid rivet |
| Screw with a captive nut | Flush or recessed | Torqued | Serviceable | Threads must be protected from food residue |
Rivet setting is where the appearance of a premium handle is created or lost. Three rules:
- Countersink depth must be controlled. Too shallow and the rivet stands proud; too deep and it disappears into the scale, leaving a hole.
- Setting force must be controlled. Excessive force compresses and cracks wooden scales, particularly across the grain.
- Flush grinding must be done cool. Grinding a rivet flush on a wood handle generates local heat that can burn the wood and discolour the metal.
Adhesive bonding
| Step | Requirement | If done wrong |
|---|---|---|
| Surface preparation | Degrease both surfaces; abrade where the substrate allows | Bond failure at low load |
| Adhesive mixing | Correct ratio, mixed thoroughly, within the working time | Regions of uncured adhesive |
| Application | Even coverage, sufficient quantity to fill the joint without a large excess | Dry spots or excessive squeeze-out |
| Clamping | Defined pressure and alignment | Gaps or misalignment |
| Cure | Temperature and time per the adhesive data sheet | Understrength joints; creep under load |
| Cleanup | Remove squeeze-out before it fully cures, or carefully after | Visible adhesive lines on the handle |
Cure temperature is commonly ignored in warm climates and commonly insufficient in cool ones. A factory assembling in an unheated space in winter with an adhesive specified for a 20 °C cure will produce weak joints and will not know it. If joint strength matters, specify the cure conditions and require a joint strength test on samples.
Fixturing and alignment
| Fixture | Function | Failure mode |
|---|---|---|
| Assembly jig for scale alignment | Holds the blade and scales square during drilling and bonding | Worn locating pins let the scales shift |
| Drill fixture | Locates rivet holes in the tang and scale | Drill wander; misaligned holes between parts |
| Rivet press fixture | Applies controlled force in a defined direction | Uneven force cracking one side of the scale |
| Tang insert loading fixture | Centres the tang in the mould for moulded handles | Offset tang, uneven wall thickness |
| Sharpening fixture | Sets the edge angle | Angle drift across a shift |
Fixture wear is the quiet cause of gradual quality drift. A jig that was accurate at the start of a production run may have worn locating pins by the end. The control is a periodic fixture check against a master, recorded. Few factories do this; the ones that do produce noticeably more consistent product.
Defects to specify and inspect for
| Defect | Description | Severity | Cause |
|---|---|---|---|
| Gap between scale and tang | A visible line where adhesive did not fill or clamping was poor | Major — a hygiene trap and a visible quality failure | Poor clamping, insufficient adhesive, tang not flat |
| Proud or sunken rivet | Rivet not flush with the scale surface | Major — tactile and visual | Countersink depth or setting force out of control |
| Cracked scale | Wood or laminate cracked at a rivet or at the end | Critical — a structural failure | Excessive setting force, weak material, grain direction |
| Handle misalignment | Handle not parallel to the blade plane, or offset | Major — visible when the knife is laid flat | Fixture wear or operator error |
| Adhesive squeeze-out | Cured adhesive visible on the handle or the blade | Major — cosmetic | Cleanup step skipped or poorly executed |
| Scratched blade from assembly | Marks from the jig or from handling | Major, especially on a polish finish | Unprotected contact surfaces; no part protection between operations |
| Sharp edge on the handle | An unfinished edge that cuts or blisters the hand | Critical — a real injury risk | Edge break not specified or not performed |
| Loosened bolster | Visible movement at the blade-handle transition | Critical — a hygiene trap that widens | Poor fit, insufficient retention |
| Marking position off | Logo not in the specified position or rotated | Major — brand visible | Fixture condition, operator error |
| Residual burr at the edge | Wire edge or burr remaining after sharpening | Major — perceived as blunt or dangerous | Sharpening sequence incomplete |
The two critical items — a sharp edge on the handle and a loosened bolster — are the two that can injure a customer. They belong in the critical defect class of the inspection standard, which means zero acceptance on an AQL basis. See AQL explained and reading an inspection report.
Part protection between operations
A large share of cosmetic rejects is created not by a machining error but by parts contacting each other between operations. Controls that work:
- Individual trays or slots for blades between grinding and assembly.
- Protective film on polished surfaces until packing.
- Edge guards applied at the earliest practical point.
- No loose stacking of polished blades in a bin.
- Clean, dry gloves or finger cots at the final stages for polished products.
These cost almost nothing and are the difference between a polished product arriving in perfect condition and arriving with a scatter of fine scratches that the retail buyer rejects.
In-process checks at assembly
| Check | Frequency | Method |
|---|---|---|
| Handle alignment against the blade plane | Per batch, sampled | Flat surface and a straightedge |
| Rivet flushness | Per shift, sampled | Straightedge or a setting depth gauge |
| Gap check between scale and tang | Per batch, sampled, with a feeler or by dye test | Feeler gauge or penetration dye |
| Torque or pull test on a sample | Per batch | Defined fixture and force |
| Edge sharpness and burr | Per batch, sampled | Per the agreed sharpness test |
| Handle edge break | 100% tactile or visual | Hand check or a defined radius gauge |
Specification points
- Assembly sequence written out.
- Rivet type, material, head form, count and positions on a drawing.
- Countersink depth range and setting force range.
- Adhesive type, grade, mix ratio, cure conditions.
- Fixture identification and a periodic check requirement.
- Flushness tolerance for rivets and screws.
- Gap acceptance criterion between scale and tang — typically zero visible gap.
- Handle edge break radius.
- Acceptable defect list with sizes and counts.
- Joint test requirements with pass criteria.
- Part protection requirements between operations.
Related reading
Looking for a kitchen knife manufacturer?
We manufacture chef knives, knife sets, Damascus and steak knives in Yangjiang with OEM and private label service. Get a quote today.
Get Free Quote → Browse Products