Welding and Handle Attachment in Knife Manufacturing: Bolsters, Tangs and Joints
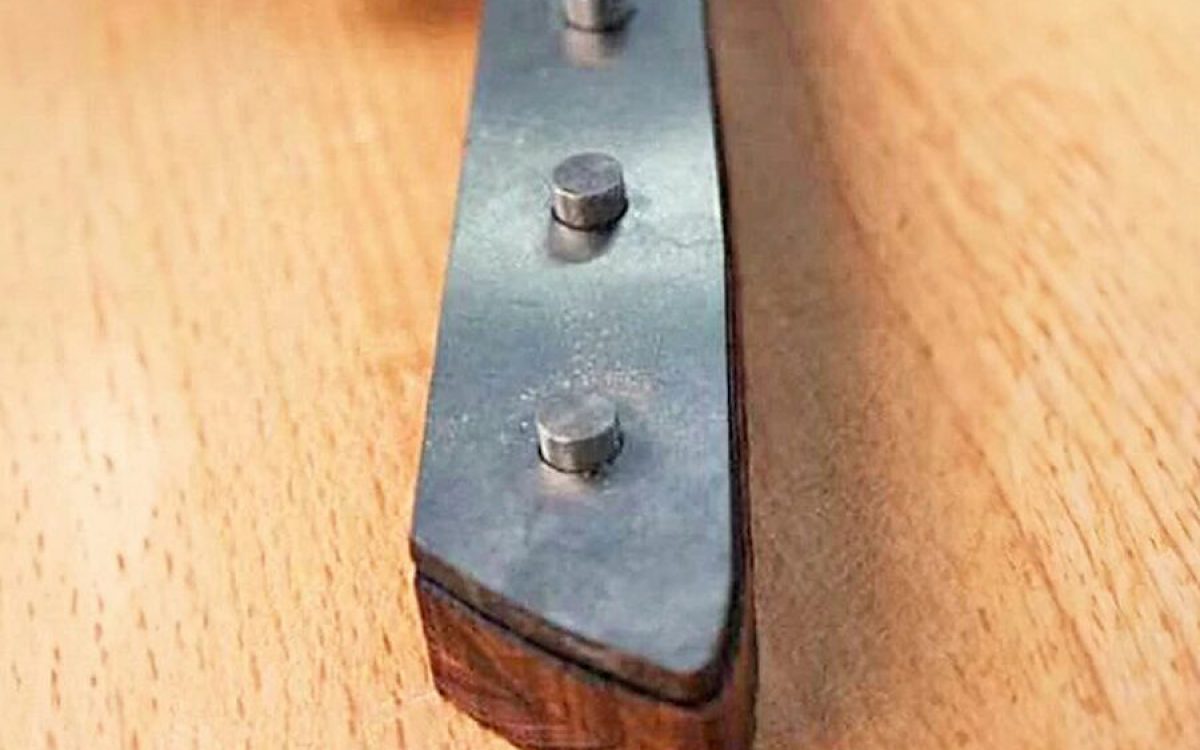
The joint between blade and handle is the most stressed part of a knife and the most common point of catastrophic failure. It is also the part most often specified with a single word — "full tang" — that says nothing about how the tang is attached or how strong the result is.
This article covers the attachment methods, the bolsters that go with them, and the tests that reveal whether a joint is real or decorative.
Attachment methods
| Method | How it works | Strength | Cost | Serviceable | Typical use |
|---|---|---|---|---|---|
| Integral tang, riveted scales | Tang is part of the blade; handle scales attached with rivets and adhesive | Highest — no joint in the load path | Moderate | Yes, fully | Premium mass market and above |
| Integral tang, screws | Scales attached with torx or similar screws | High | Moderate to high | Yes, user-serviceable | Enthusiast and professional lines |
| Welded bolster onto a stamped tang | Bolster separately formed and welded to the tang | Depends entirely on weld quality | Low to moderate | No | Mid-market; often presented as forged |
| Partial tang, moulded over | Tang inserted into the mould and plastic injected around it | Adequate if the tang section is generous | Lowest | No | Volume value lines |
| Stick tang, epoxy in a bored handle | Narrow tang glued into a drilled handle block | Depends on tang section and bond quality | Moderate | Difficult | Japanese style, wa handles |
| Rat-tail tang with a pressed or staked end | Thin rod into a handle, secured by deformation | Weakest | Very low | No | Cheap consumer lines; a real failure risk |
| Threaded tang with a pommel nut | Tang threaded, handle compressed by a nut at the end | High | High | Yes | Craft and military patterns |
The rat-tail problem
A rat-tail tang is a narrow rod, often a continuation of the blade reduced to a thin section, running through a handle. It is a legitimate design in a light, low-load tool. In a kitchen knife it is a cost reduction, and the failure mode is a blade separating from the handle under lateral load or a snap at the tang.
| Tang type | Typical section | Load-bearing capacity | Failure mode |
|---|---|---|---|
| Full tang equal to blade spine | Equal to the blade spine, 2.0–3.0 mm, full blade width | Very high | Essentially cannot fail before the blade does |
| Full tang relieved for weight | Same outline, reduced thickness in the middle | High | Failure only under extreme abuse |
| Half tang | Extends partway into the handle | Moderate | Handle can flex or detach at the end |
| Stick tang, thick | 4–6 mm square section | Moderate to high if bonded correctly | Bond failure; handle splitting |
| Stick tang, thin | 3 mm or less | Low to moderate | Bending in the handle |
| Rat-tail | 2–3 mm round or flat rod | Low | Snap at the tang; handle rotation |
The commercial argument against the rat-tail is not only liability. A knife that fails at the handle generates a return, a review and, in some markets, a reporting obligation. The saving on a rat-tail tang is a few cents per piece, against a failure that ends the product's life in the market.
Bolsters and ferrules
| Type | Construction | Function | Failure mode | Cost |
|---|---|---|---|---|
| Forged integral bolster | Continuation of the blade steel, formed during forging | Balance, no joint, no crevice for food residue | Essentially none, other than sharp edges if poorly finished | High |
| Welded bolster | Separate part welded to the tang area | Appearance and balance at lower cost | Weld porosity or incomplete fusion; visible weld line after polishing; corrosion at the joint | Moderate |
| Pressed or swaged bolster | Metal collar formed around the blade/tang transition | Appearance, closes the gap | Loosening; crevice corrosion; gap after a knock | Low |
| Metal ferrule on a wa handle | Ferrule fitted between blade and wooden handle | Reinforces the handle entry, appearance | Ferrule cracking or rotating; gap opening if the wood moves | Moderate |
| Moulded plastic bolster | Part of the injection-moulded handle | Appearance | Seam line, wear, perceived cheapness | Lowest |
The welded bolster deserves attention because it is routinely described as forged. The distinction matters on two counts. First, a weld is a joint with a heat affected zone; if the welding was done after hardening, the adjacent steel is affected. Second, the weld line frequently becomes visible after polishing, and it is a corrosion initiation site in a dishwasher environment. Ask how the bolster is attached. A factory that answers "forged" and cannot explain the forming operation is answering a marketing question, not a technical one. See forging routes.
Welding in cutlery production
| Process | Where used | Advantages | Risks |
|---|---|---|---|
| Resistance spot welding | Attaching a bolster or a tang extension | Fast, repeatable, low heat input | Small fusion area; strength depends on electrode condition |
| Projection welding | Attaching bosses or a bolster | Controlled fusion points | Requires a projection on one part |
| TIG welding | Manual repair, prototype assembly, some bolster attachment | Clean, controllable | Operator dependence; heat input |
| Laser welding | Precision attachment, thin sections | Very low heat input, narrow zone | Capital cost; joint fit must be precise |
| Brazing or silver soldering | Attaching bolsters and ferrules | Low temperature, no melting of the base | Filler metal composition must be food contact compliant; joint strength lower than welding |
| Friction or ultrasonic welding | Plastic handle parts | Fast, no consumables | Joint appearance; strength dependent on material compatibility |
One compliance point that is regularly overlooked: brazing filler and any flux residue on a food contact surface must itself be compliant, and the joint must be cleaned. A cadmium-containing brazing filler has no place in a kitchen knife, and the specification should say so. Require the filler alloy to be named and its food contact status documented. See migration testing and EU food contact compliance.
Adhesives for handle attachment
| Adhesive type | Strength | Water resistance | Temperature resistance | Notes |
|---|---|---|---|---|
| Two-part epoxy | High | Good to excellent depending on grade | Moderate to good | The standard for stick tangs and scales |
| Polyurethane adhesive | Moderate to high | Good | Moderate | Expands slightly, which can fill gaps |
| Cyanoacrylate | Low to moderate | Poor | Poor | Prototypes and repairs only |
| Hot melt | Low | Poor | Poor | Not appropriate for a knife handle |
| Anaerobic retaining compound | High in thin gaps | Good | Moderate | Useful for securing a fitted bolster |
Dishwasher exposure is the test that separates adhesives. Kitchen knives are frequently washed hot, and a joint that relies on a temperature-limited adhesive will creep. If the product is sold into a dishwasher-heavy market, the adhesive should be specified by grade and the joint qualified by a hot-water soak and dry-cycle test. See dishwasher testing.
Tests that reveal joint quality
| Test | Method | What it detects | Pass criterion |
|---|---|---|---|
| Handle torque test | Apply a defined torque between blade and handle | Weak or loose joints; rivet bearing failure | No movement or permanent set below the specified torque |
| Lateral bend test | Apply a defined force perpendicular to the blade plane | Tang weakness, rat-tail failure | No permanent deformation or separation |
| Handle pull test | Axial pull to a defined force | Adhesive failure on a stick tang | No movement; failure above the threshold |
| Hot water soak and dry cycling | Repeated immersion and drying | Adhesive creep, wood movement, crevice corrosion | No gap growth, no looseness, no staining |
| Dishwasher cycling | Repeated standard cycles | Handle degradation, joint failure, corrosion | Per the stated standard and the agreed visual criteria |
| Dye penetrant on a welded joint | Penetrant applied and developed | Weld porosity and incomplete fusion | No indication |
| Destructive sectioning | Cut a sample through the joint | Weld penetration, adhesive coverage, tang section | Coverage and penetration per the drawing |
Destructive sectioning on one piece from a first article batch is the single most informative test on a joint, and almost nobody requests it. Cutting a knife open and looking at how the tang is attached settles in five minutes a question that no certificate answers. Ask for it on the first article, with photographs.
Specification points
- Tang type, and the tang section dimensions including any relief.
- Attachment method: rivets, screws, weld, braze or adhesive, named specifically.
- Rivet count, diameter, material, head style.
- Adhesive: type and grade.
- Bolster or ferrule: material, construction, whether integral or attached.
- For any welded or brazed joint: the filler material, its food contact status, and whether the operation occurs before or after hardening.
- Joint test requirements with pass criteria.
- First-article destructive sectioning with photographs.
- Golden sample retained by both parties.
Related reading
Looking for a kitchen knife manufacturer?
We manufacture chef knives, knife sets, Damascus and steak knives in Yangjiang with OEM and private label service. Get a quote today.
Get Free Quote → Browse Products