Knife Grinding: The Full Sequence from Primary Bevel to Final Edge
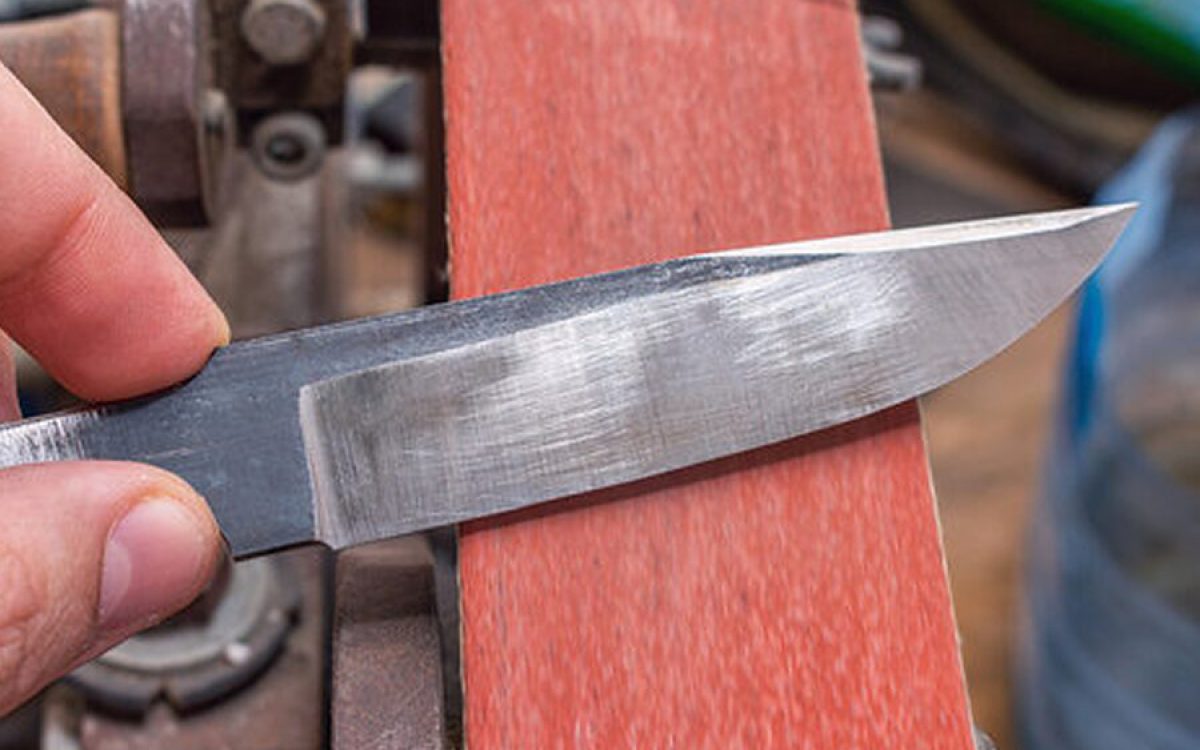
Grinding turns a hardened blank into a knife. It is the most labour-intensive stage in most cutlery factories, the stage most likely to be quietly degraded to hit a price, and the stage where the quality that a customer actually feels is created.
This article follows the grind from primary bevel to final edge and explains what each step contributes and how each can go wrong.
The sequence
| Step | Removes | Abrasive | Purpose | Failure mode |
|---|---|---|---|---|
| Pre-grind or flatten | Scale, decarburised layer, distortion | Coarse wheel | Establishes flat datums | Leaving decarburised skin on the blade face |
| Profile grinding | Outline corrections | Coarse belt or wheel | Sets the outline and the spine line | Removing too much, changing blade height |
| Primary bevel | The bulk of the material to establish the taper | Coarse, commonly in the 40–80 grit range | Creates the grind face and the thickness behind the edge | Overheating; grinding past the intended thickness |
| Secondary bevel or edge bevel | Sets the actual cutting angle | Medium, commonly 120–400 grit | Defines the edge geometry | Wrong angle; inconsistency along the blade |
| Edge refinement | Reduces scratch depth at the apex | Fine, commonly 600–2000 grit | Removes the burr, forms a clean apex | Rounding the apex by over-polishing |
| Buffing or stropping | Final polish at the apex | Buff with compound | Removes the last burr remnants | Over-buffing produces a convex, weak apex |
| Finishing the faces and spine | Cosmetic passes | Per the finish specification | Surface appearance | Changing the finish by hand on some pieces only |
Grind geometry — what each type means in production
| Grind | Cross-section | Grinding difficulty | Thickness behind edge at a given angle | Character |
|---|---|---|---|---|
| Full flat | Flat faces from spine to edge, or nearly | Moderate — a large flat contact area | Low, excellent slicer | Best all-round cutting geometry |
| Sabre / flat with a shoulder | Flat upper face, distinct bevel at the edge | Easy — clear reference surfaces | Higher, robust | Strong, forgiving, common in European knives |
| Hollow | Concave faces from a large wheel | Moderate; the wheel must be dressed and true | Very low at the edge, thin behind it | Excellent slicer, fragile edge |
| Convex | Gently curved faces | Hard — no flat reference, requires skill or a jig | Variable; can be thin at the edge with mass above | Strong and good cutting, hard to make consistently |
| Scandi | Single flat bevel with no secondary edge bevel | Easy to control the angle, difficult to keep flat over a long blade | Very low at the shoulder | Tough and easy to sharpen in the field |
| Single bevel (Japanese) | Flat ground on one side, hollow or flat on the back | Difficult; the back must be flat and the bevel consistent | Very low | Precision slicing; requires skill and care |
"Thickness behind the edge" is the parameter that determines cutting feel and it is distinct from the edge angle. A 15 degree edge on a 0.5 mm thick blank that has not been thinned will cut far worse than a 20 degree edge on a blade ground to 0.15 mm behind the edge. Buyers who specify only an angle and not a behind-edge thickness have specified half the geometry. See grinds explained and what makes a knife sharp.
Heat — the defect that cannot be seen
Grinding generates heat at the contact point. On a thin section near the edge, that heat can exceed the tempering temperature of the steel and soften it. The result is a blade that tested at the right hardness at the middle of the face and has a soft, easily dulled edge.
| Heat damage | Temperature reached | Visible sign | Consequence |
|---|---|---|---|
| Temper draw | Above the tempering temperature, below the transformation range | Straw, brown or blue tint on the steel | Soft edge, poor edge retention |
| Re-hardening | Above the austenitising temperature locally | Bright blue or grey zone with a hard, untempered structure | Brittle, chipping edge |
| Grinding cracks | Localised rapid heating and cooling | Fine cracks, sometimes only visible after inspection or in use | Catastrophic failure potential |
| Grain growth | Extended high temperature | None visible | Reduced toughness throughout the affected zone |
| Control | How it works | What to specify |
|---|---|---|
| Coolant delivery | Cools the contact zone and flushes swarf | Coolant type, flow, nozzle position, and the requirement that it is maintained |
| Light passes | Reduces the heat generated per pass | Maximum depth of cut per pass in the process instruction |
| Wheel or belt condition | A glazed or loaded abrasive generates more heat | Dressing intervals; belt change schedule |
| Feed rate control | Slower feed reduces heat per unit time in a thin section | Stated feed rate, and a slower rate near the edge |
| Deliberate cooling pauses | Lets the section cool before further grinding | Included in the process instruction for thin and premium products |
| Hardness verification after grinding | Detects a soft edge before packing | Hardness measured at a defined distance behind the edge, per batch |
If you specify one control and only one, specify hardness testing after grinding at a defined distance behind the edge. It is the only control that catches the defect rather than preventing it, and it is cheap. See verifying hardness.
Grinding in different production settings
| Setting | Method | Consistency | Cost | Suitable for |
|---|---|---|---|---|
| Fully manual | Operator holds the blade against a belt or wheel | Operator-dependent | Lowest per hour, high variability | Low-cost production; craft work |
| Jig-assisted manual | Angle jig holds the blade | Good for the angle, still operator-dependent for pressure | Low | Most mid-market production |
| Semi-automatic | Powered fixture, operator loads | Good | Moderate | Volume production of a stable shape |
| CNC grinding | Programmed path, machine-controlled | Excellent | High capital, low marginal | Consistent geometry, complex grinds |
| Robotic grinding and polishing | Robot with force control | Very good with correct programming | High capital | High-volume consistent finishing |
| Hand grinding with stones | Craft method | Highly operator-dependent | Very high labour | Premium single-bevel and craft knives |
The move from jig-assisted to semi-automatic or CNC is essentially a consistency investment. It shows up in a lower rejection rate and, more importantly, in a distribution of edge angles that is tight rather than wide. If you receive a test report with edge angle measurements, look at the spread, not the average. A tight average with a wide spread is a manual operation with variable pressure. See in-process quality control.
What to specify for the grind
- Grind type, named and drawn in cross-section.
- Edge angle in degrees per side, measured at defined points — typically heel, mid-blade and near the tip.
- Thickness behind the edge at the same defined points.
- Grind height, either as an absolute measurement or as a proportion of blade height.
- Whether the grind is fully machine or partly hand finished.
- Coolant and feed parameters, or a reference to the process instruction.
- Hardness verification after grinding, with location and sample size.
- Acceptance criteria for visual defects: grinding marks, dips, waves along the edge line.
- Sharpness test method and pass criterion.
How grind quality shows up commercially
| Grind quality | Customer perception | Business effect |
|---|---|---|
| Thin behind the edge, consistent angle | "This knife cuts" | Reviews, repeat purchase, word of mouth |
| Thick behind the edge, correct angle | "It's sharp but it wedges" | Returns, mediocre reviews |
| Variable angle along the blade | "Hard to keep sharp" | Blame on the customer's sharpening; lost repeat purchase |
| Soft edge from grinding heat | "Dulls quickly" | Warranty claims, brand damage |
| Visible grinding marks on a mirror finish | "Not as premium as it looked" | Markdowns, unsold stock |
Grinding is where a knife programme is won or lost commercially, and it is the hardest stage to audit from a photograph. The controls that matter are a retained golden sample with measured geometry, an agreed hardness verification point, and an edge angle measurement at defined positions. Those three, taken together, are a more useful quality system than any certificate. See edge geometry testing and sharpness testing.
Related reading
Looking for a kitchen knife manufacturer?
We manufacture chef knives, knife sets, Damascus and steak knives in Yangjiang with OEM and private label service. Get a quote today.
Get Free Quote → Browse Products